Shopify Plugin by The Sender: Installation and Setup Guide
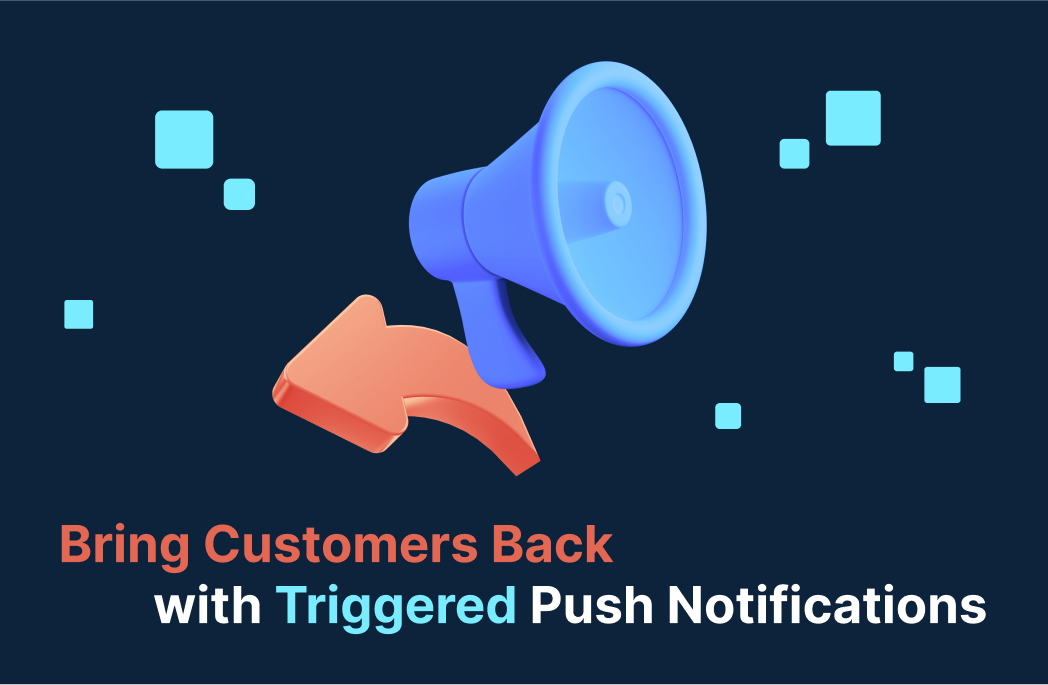
We’re excited to introduce our custom Shopify plugin by The Sender, designed to help you implement triggered push notifications on your online shop. These notifications will be crucial in reminding potential customers about their cart items and informing them about discounts and special offers, ultimately boosting your sales. This article will provide a detailed guide for installing and setting up The Sender plugin on your Shopify site.
Please note that this guide is specifically for Shopify websites. If you use a different content management system (CMS), please contact us for more information.
How to Integrate The Sender into Your Shopify Site
To install our custom plugin and start building your subscriber base, follow these simple steps.
Step 1: Visit the Shopify App Store and search for “The Sender” to find our plugin.
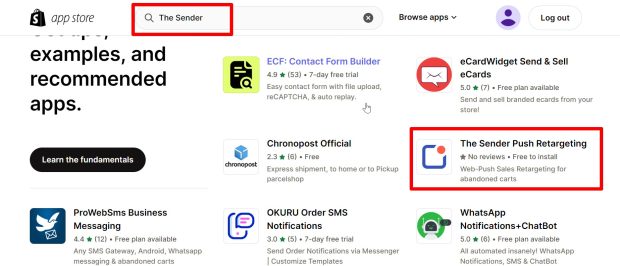
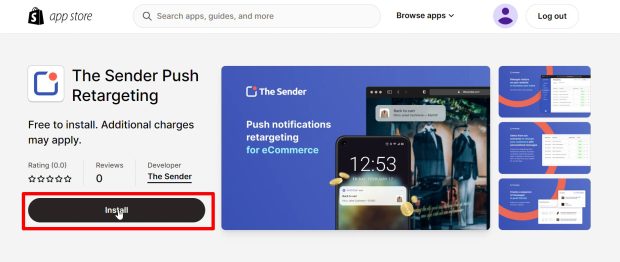
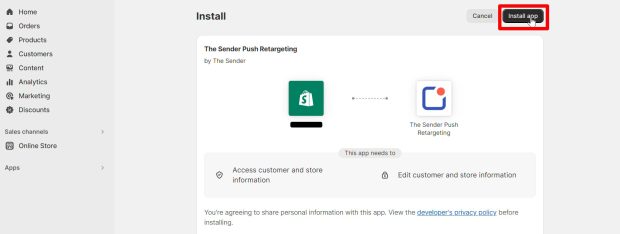
Step 2: Access our plugin’s page and click the “Install” button. This will redirect you to the installation page, where you must click the “Install app” button.
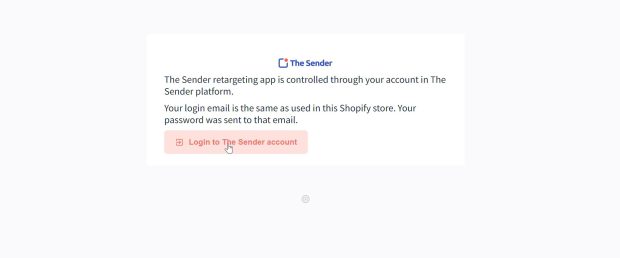
Step 3: Once the installation is complete, you need to register with our service. To do this, simply click “Login to The Sender account” and use the password we will send you via email. Your Shopify account’s email will serve as your login.
Congratulations! You are now registered with The Sender. It’s that easy indeed!
How to Start Collecting Subscribers
To fully leverage the benefits of triggered push notifications and The Sender’s retargeting features, you need to build a subscriber base. This can be done in just two straightforward steps.
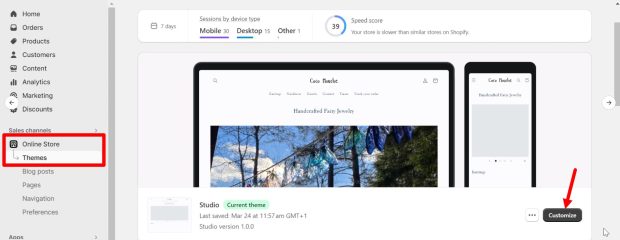
Step 1: In your Shopify account, navigate to the site settings, open “Online store”, select “Themes”, and click “Customize.
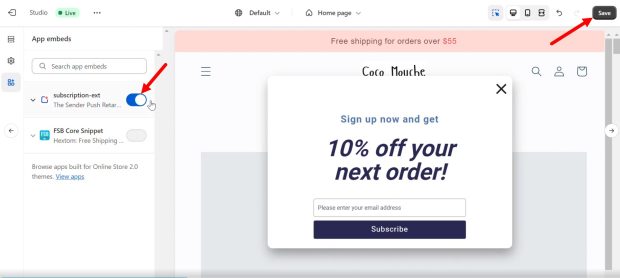
Step 2. Afterward, go to App embeds, activate The Sender toggle, and press “Save”.
That’s it! Now your site will passively collect subscribers for future campaigns and retargeting!