The Sender installation guide
TheSender is a push notification service that lets you launch in-browser pop-up messages. It is an excellent solution for publishers, affiliates, and agencies to improve user retention and the overall quality of traffic.
This guide will show you how to register in theSender, set up your first campaign, and manage payouts.
How to sign up
- To register in TheSender, go to thesender.com and click TEST NOW FOR FREE or SIGN UP.
- Enter your email.
- After successful registration, TheSender functionality and its main page will be open for you.
Let’s look at it in more detail.
Dashboard capabilities
You can create new messages from the main page or view statistics on already created campaigns and other account data. Here is the complete list of features:
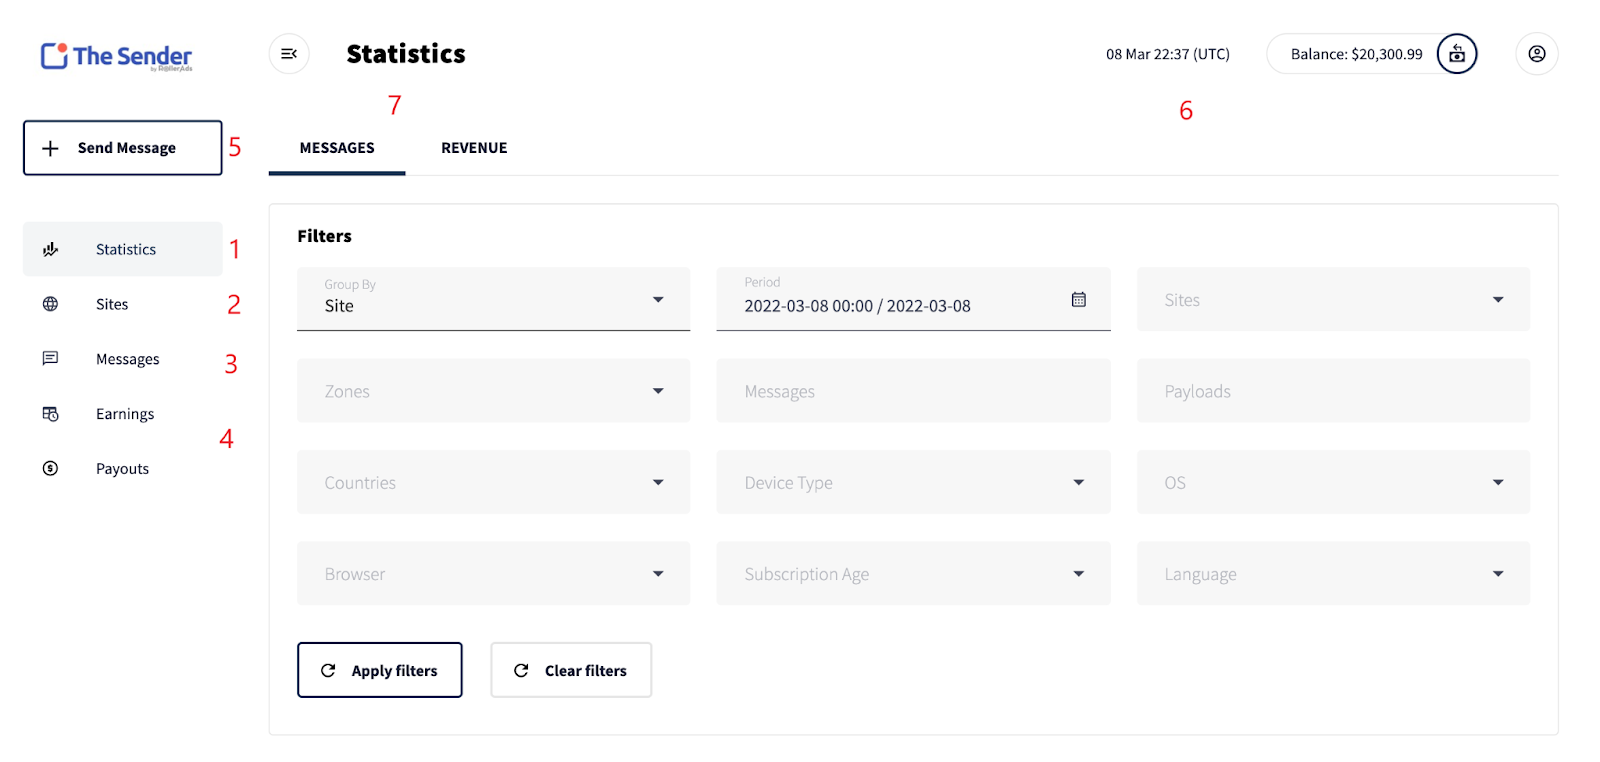
- The page with detailed statistics on subscribers and messages.
- List of your sites.
- List of your published posts.
- Earnings and withdrawal information.
- Create a new message.
- Current date and total account balance.
- Statistics on revenue and messages sent.
- Let’s learn how to add your first site and send the first message.
Adding a website
To create your first campaign, you must add websites where these ads will be displayed.
- Go to the Sites tab and click Add a new site.
- Enter the name of the website, and after that, click Add new ad placement.
- In New ad placement, you choose the type of ad placement and give it a name for Push ads, select Push.
- Click Apply.
- Next, you install the worker file on your site by clicking the Get service worker button.
- Allow the download – this file is needed for the system to detect your site.
- After downloading, move the file to the root folder of your site via FTP or directly, as you like.
- After installing the worker file, copy your HTML code and place it after the tags of your site.
Done! To ensure everything works, ask your manager to check that the installation is correct. Now your site will collect a database of subscribers to whom you can send messages.
We recommend installing the code and collecting the base about a week before you send your first message.
Creating a message
On the main page, click Send Message. You will see a menu for message creation.
To create your first message
- Enter a title for your message.
- Select to which site you want to send it.
- Select the message format – Instant Push or RSS feed.
- Add images to the message.
- Create a header and text for the message
- Finalize the settings for the first message by selecting targeting options.
- Confirm that the message is of suitable quality for the mailing. You can send it immediately with a Launch message button or press Save as a draft to send later.
Targeting options:
- TTL – how long a message will stay in the notification panel. By default, it’s two days or until the user reads it;
- Countries;
- Subscription Age – how many days a person is subscribed to you;
- Device;
- Browser.
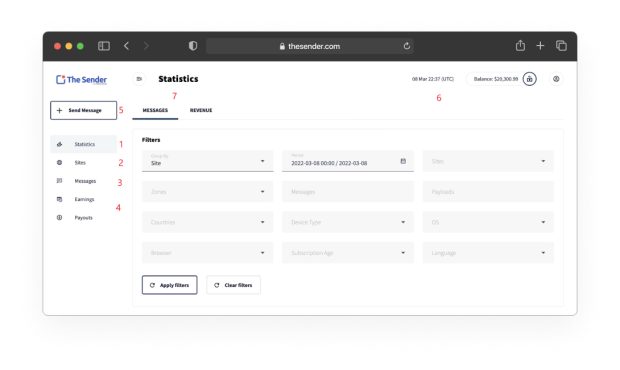
Statistics
In the statistics section, you can view information about your campaigns and filter them by the desired parameters.
You can see the number of requests, users subscribed and unsubscribed, and overall impressions reached by your message. Also, you can see the most critical metrics – Conversion Rate (CR) and Click Per Mille (CPM), as well as the overall profit generated by the message.
If you want to filter your messages, you can click Apply Filter and find the messages you want, sorting them out by:
- Website
- Date of publication
- Ad Format
- Zone
- Country
- Platform
- Monetization and withdrawal
When monetization is enabled, you will receive a daily income from advertising, which you can withdraw in a preferred way.
You can view the info on the previously withdrawn funds in the History tab.
How to create this history
- Choose a withdrawal method that is convenient for you.
- Fill in the required details.
- After making sure that the details are entered correctly – confirm the withdrawal method.
- Done! Now you can receive funds you earned with ad campaigns.
If you have any questions about the setup or want to learn more about it, feel free to contact your account manager or support@thesender.com, and we’ll answer them in no time.
We wish you successful advertising campaigns with theSender!